
# Type at least 1 character to search # Hit enter to search or ESC to close
Cart


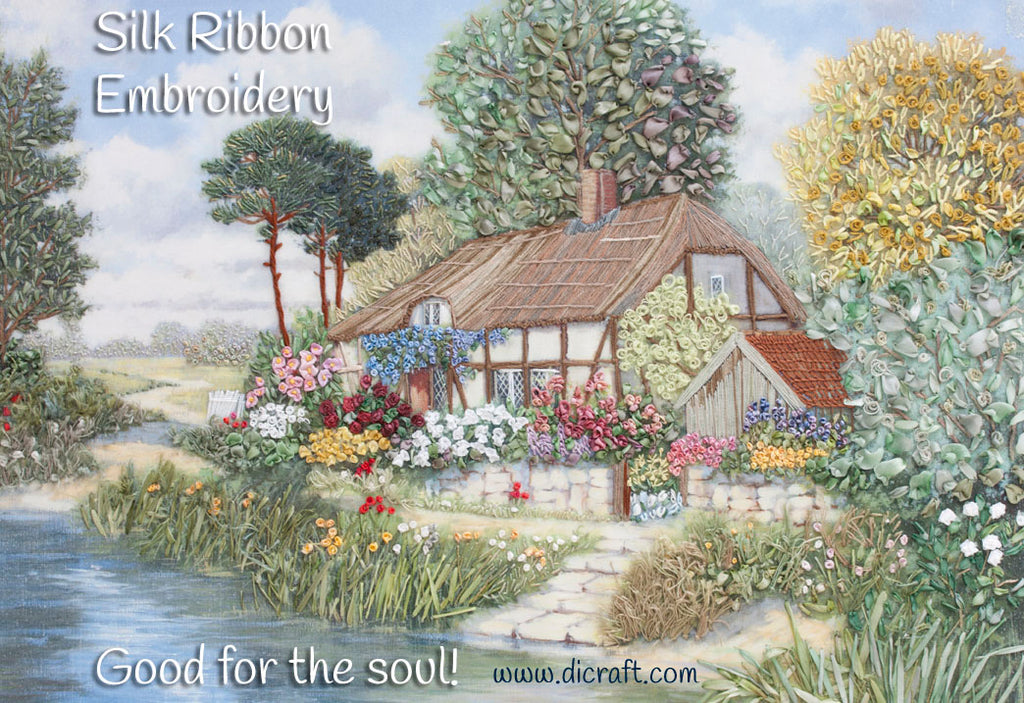
Hi stitching world! I hope you had a lovely weekend ♥ I thought you would enjoy reading about how to work with silk and organza ribbon and I have also added other handy hints for you.
The downloadable lesson can be found here and saved for your collection.
Silk ribbon embroidery is surprisingly easy to master. Use silk ribbon just like any other thread or yarn except take into consideration that it is softer and more fragile. See “Needles” on page 8 of the downloaded lesson. It is essential that you use a needle with a large eye to make a big enough hole in the fabric so that the ribbon does not snag or fold.
Thread the needle and pierce the end that has just been threaded. Pull the long tail to tighten the knot.

When starting with ribbon you have several choices:
a) Leave a small tail at the back and when you make your first or your second stitch, pierce the tail to secure it onto the fabric
b) or secure the tail with embroidery thread and stitches.
c) Or knot the 2 and 4mm ribbons as you would a thread. The texture of the design is busy enough to hide the bulkiness of the knot.
a) Leave a tail 1-2cm (½in) long, at the back of the work and secure with 1 or 2 strands of embroidery thread.
b) Or catch the tail when you start your next thread.
c) Or weave the ribbon in and out of adjacent stitches at the back.
Remember to use short 20 cm to 30 cm (8 to12 inch) lengths, especially with the 13 and 7mm silk ribbons. For the narrow, 2mm ribbons, a longer piece: 40 to 45cm (16 to 18 inch) is acceptable – this ribbon does not fray as fast as the wider ribbons.
Use your left thumb (or right thumb if you’re left handed) to hold the ribbon flat when you pull it through to the back. Only let go once the stitch is almost done; this prevents the ribbon from twisting or scrunching up. Alternatively, use the blunt end of a spare tapestry needle to gently hold the ribbon flat until you have pulled it through.
Work with a gentle tension: ribbon needs to be handled lightly. Keep stitches loose and unfolded; allow the ribbon to spread to its full width on the fabric before starting the next stitch. If your tension is too tight and the needle too small, the ribbon will fold or scrunch up and the beautiful texture will be lost.
If you do pull the previous stitch too tight in error, don’t be deterred – simply make other stitch on top of it. This adds texture to the design!
Some stitches look good if the ribbon twists as you stitch, for example: spider-web roses, long straight stitches for leaves, larger detached chain stitches, large, loose ribbon stitches, and loose French knots. Refer to the close-up colour pictures in the kit to guide you whilst you stitch. Make some of the stitches with flat ribbon and others with twisted ribbon for an interesting effect.

The proper size needle is probably the most important choice you will need to make to determine a successful product. Every beginner I meet is surprised at how big the needle is for ribbon embroidery. It is essential that the needles create a large enough hole in the fabric. This way you can pull the ribbon through gently, without snagging or hurting the silk too badly. The ribbon spreads evenly to form a soft, open stitch instead of it being all scrunched when pulled through too small a hole. The eye of the needle must also be long enough (large) for the ribbon to lie flat once threaded
Chenille needle: a sharp, pointed, thick needle with a large eye. In a mixed pack of 18/24 needles, the lower the number the larger the needle: The size 18 needle is the largest. Use a size 18 chenille needle for the 7 mm ribbons, a size 20 chenille needle for the 4 mm ribbons and a size 22 chenille needle for the 2 mm ribbons. A size 16 chenille needle (available in a separate pack) is used for the 13 mm and 15 mm ribbons.
Crewel /embroidery needle: a sharp fine needle with a long, large eye. In a mixed pack of 5/10 needles, the number 5 is the largest and 10 the smallest. You will need size 8, 9 or 10 needles for one or two strands of thread.
The general rule: The thread should pass through the eye of the needle quite easily, but if the thread is too loose in the eye of too large a needle, it tends to pull out easily. Too fine a needle will harm the thread since the hole that the needle makes in the fabric will be too small which causes the thread to fray.
Use a Tapestry needle (a blunt thick needle with a large eye) or similar object. You will use this blunt needle for re-shaping stitches, to work over when making loose, puffed ribbon stitches and to form the loop of the single-knotted stitches. A size 13 or 16 tapestry needle is used for this purpose.
All the stab stitches, (the stitches that are made through the fabric) are best embroidered on the hoop. Particularly satin stitch, straight or stab stitch, seeding, couching and French knots as the stretched fabric prevents the design from puckering out of shape.
Some of the surface stitches, such as chain and stem stitch, can be worked off the hoop, although I do find it is better to make all the stitches on the hoop, stab-stitch style. Take the needle and thread to the back and come up again in two separate steps. This is very much a personal choice – see what works best for you.
Do remember to pull the layers tight in the hoop as often as necessary to prevent the cloth from puckering out of shape. Pull all the layers gently on each corner and along the sides. Then tighten the hoop again. Hoop stands are available that hold the hoop so that you have both hands free to stitch. These are available from needlecraft shops.
It is advisable to work from the top of the picture downwards, from left to right if you are right-handed and from right to left if you are left-handed. This way, the ribbon stitches are not damaged by hard working hands!
First do all or most of the thread work at the section that you have chosen (the leaves and grass in the background for instance) before completing the ribbon work. This prevents the ribbon stitches from pulling out of shape when handled too often. I have numbered the sequence that I used on the colour picture supplied in your kit but do feel free to change the sequence to suit you. Follow the step- by- step instructions on the pages supplied in your kit.
Always keep a damp face cloth or towel nearby as you work. Wipe your hands often to keep your work clean. Work on a towel so that the edge of the table does not leave marks on your design. When you are not working on your piece, slip it inside a large pillowcase or cover it with a towel. Stand the covered hoop up on a shelf or cabinet so no one can place something heavy on top of the covered hoop. I don’t know how many of you have cats in your house, but they ALWAYS choose the hoop as a bed! Remember to loosen the screw or wing nut if you will not be working on it for a while, and to tighten it (after stretching the layers taut) before starting again.
I do hope that you enjoyed this lesson. If you have any suggestions on how to improve (or what to add to) these lessons – please let me know. Don’t forget to send me some pictures - I do so enjoy seeing them!
Visit our website to find out about other gorgeous designs in A Box full of Lessons series. They are popular and a wonderful way to learn!
Until next time, have fun! ♥
Love

Anonymous
Thanks Di. As usual very generous in your advice