# Type at least 1 character to search # Hit enter to search or ESC to close
Cart
Welcome to my Blog. This a place to share and learn all things embroidery. Here I post inspirational stories and free lessons in the form of tutorials and guides. I also share tips, tricks and teach stitches and techniques.
You will also find free patterns and designs for you to unlock your creativity. It is a great place for any creative looking to learn or find inspiration in this art form.
To stay in the loop with Dicraft you can subscribe to my newsletter and stay in touch on Instagram and Facebook.
10 April 2026 I have some sad news today. I am having to close the product operations of Dicraft and soon my ribbons, kits and panels will no longer be available. For the past 6 months our sales have declined sharply due to U.S. import tariffs that were implemented in August 2025, and since the largest part of my market is in the USA, continuing the manufacturing side...
How to embroider beautiful swans and add some silk ribbon embroidery too!
Hi stitching world! I have something lovely to show you by Helene Gordon from Moorpark, in Southern California. She embroidered the bicycle design so beautifully! Don't you love her bouquet of flowers? Helene wrote: “You won’t be able to tell on the photo, but the framer did an amazing job! After stretching the canvas, she did a raised double matting so none of the ribbon or embroidery...
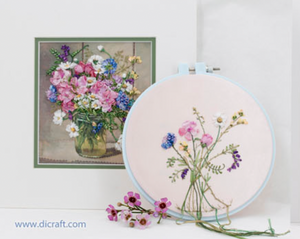
Stitch Freely, Relax & Blossom Your Next Project Awaits! ♥ . Now Available as a Kit for the first time. This exciting release comes in response to the many requests we have received. We have carefully packaged the Dream Journal in kit form, making it accessible to anyone who wishes to enjoy or gift it. A Thoughtful Gift The Dream Journal kit is a wonderful gift idea, perfect...
Sweet memories - A recipe for you - Turkish Delight An exploration into the world of forgotten sweets and candies – among the recipes are many well-loved favourites. Turkish Delight I have something special for you to make when you have the time! Turkish Delight from my favourite Sweet book by the super-talented Simone Balman from Cape Town. Published by Metz Press. You are welcome to download the...
Good morning stitching world ♥ I have a lovely piece to show you by Carol Bianconi from Huntington Beach in California: Girl Reaching — one of my favourite designs. Don’t you just love her? . More detail... . . I just love the little girl’s hair ♥ . Carol wrote to me: “I started this project as soon as it was shown on your website. ...
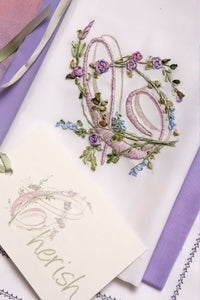
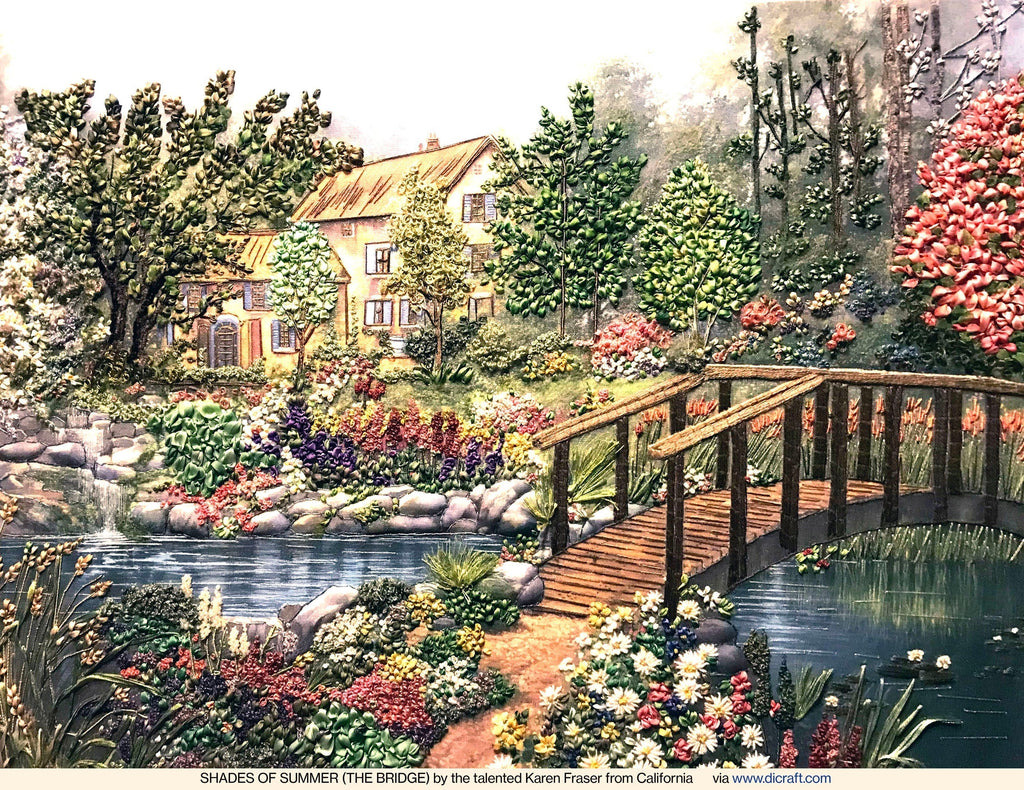
As we begin the New Year (and I wish a wonderful year ahead for everyone), I want to share something uplifting from one of the most gifted teachers I've met: Karen Fraser from California.
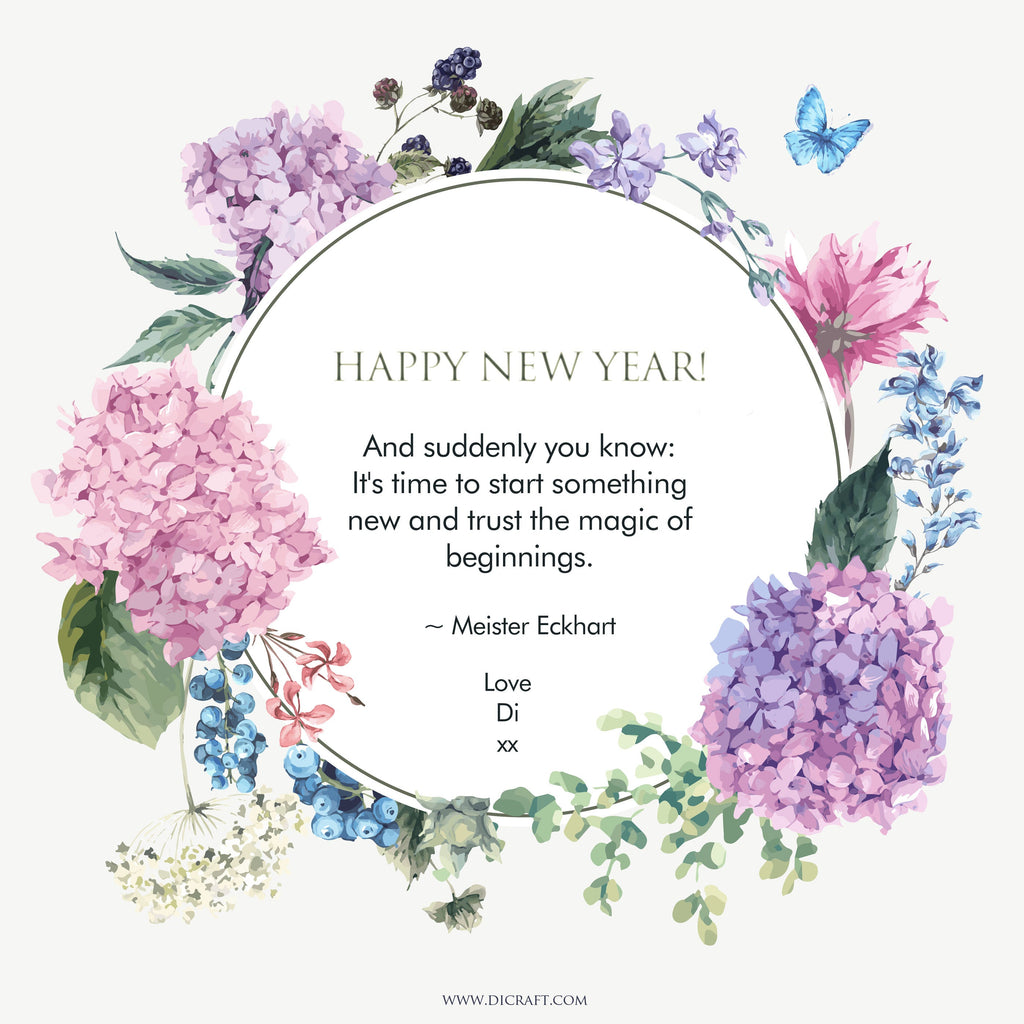
Happy New Year - may 2026 be a wonderfully creative year for you! And suddenly you know: It's time to start something new and trust the magic of beginnings.~ Meister Eckhart Love from all of us at Dicraft in Cape Town.
Wishing you the gifts of love, peace, and happiness May all these be yours at Christmas With love from all of us here at Dicraft. xx
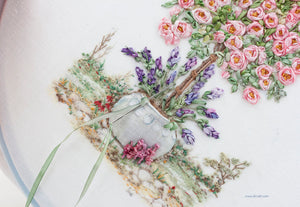
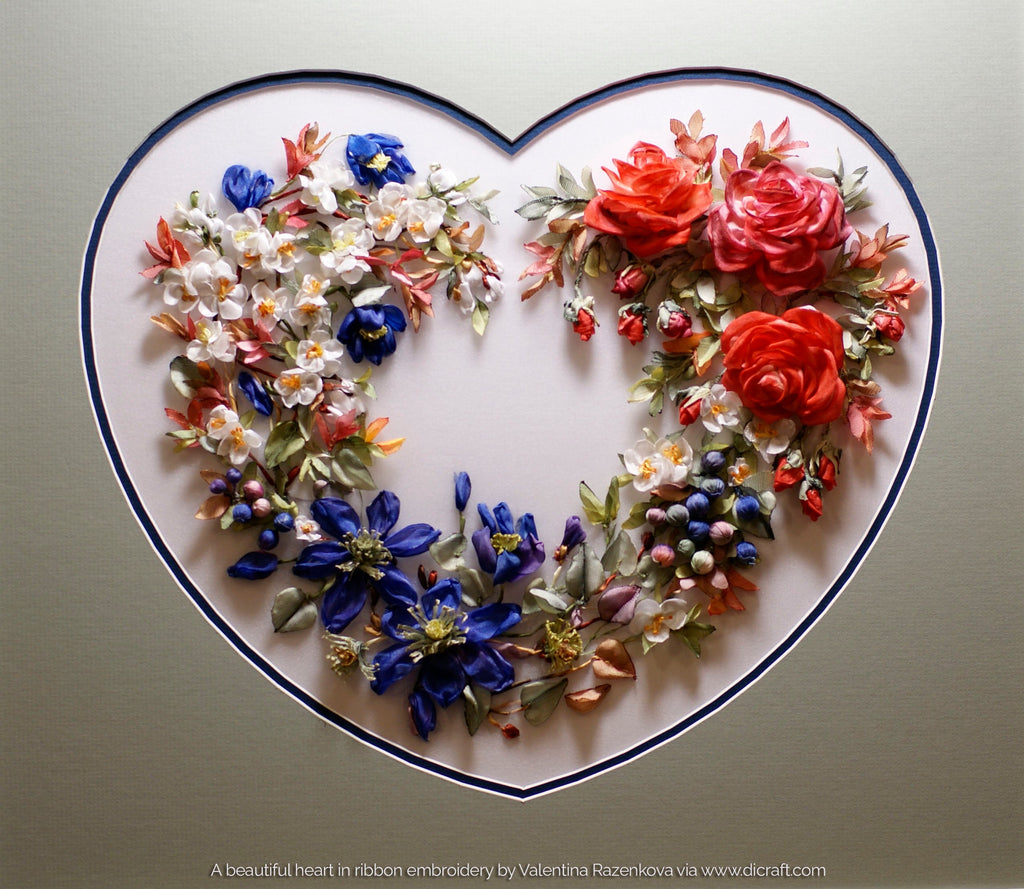
This will be my final post of the year (apart from Christmas and New Year greetings), and I wanted to share this stunning piece as special inspiration for those planning to stitch over the holidays or thinking about picking it up again in the new year. Take a look—don’t you find it exquisite? It was embroidered with ribbon by the incredibly talented Valentina Razenkova, an embroiderer whose talent...
Get regular newsletters packed with tips, specials and new products!
Copyright © DI VAN NIEKERK. ALL RIGHTS RESERVED.
Added to cart successfully!