Welcome to my Blog. This a place to share and learn all things embroidery. Here I post inspirational stories and free lessons in the form of tutorials and guides. I also share tips, tricks and teach stitches and techniques.
You will also find free patterns and designs for you to unlock your creativity. It is a great place for any creative looking to learn or find inspiration in this art form.
To stay in the loop with Dicraft you can subscribe to my newsletter and stay in touch on Instagram and Facebook.
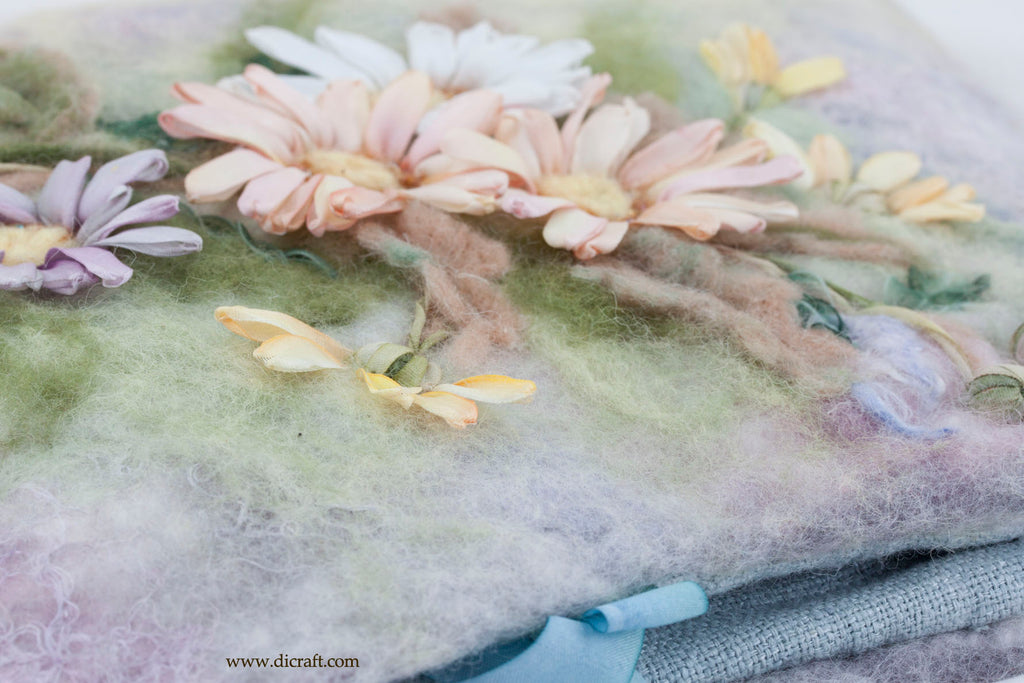
Silk Ribbon Daisies See how these daisies are almost life-like in their appearance, raised up off the surface of the design? An as promised I will show you how these daisies are made… . . How to make Three-Dimensional Daisies in Silk Ribbon Hi, good day from a sunny Cape Town A few weeks ago, I promised to show you how to make silk ribbon daisies with a...
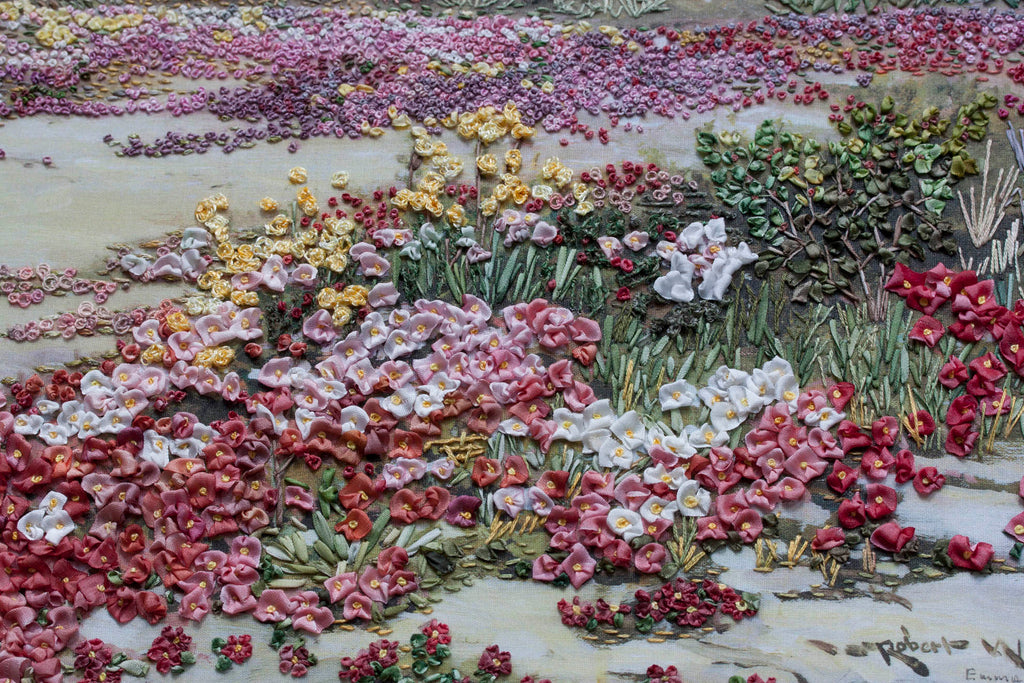
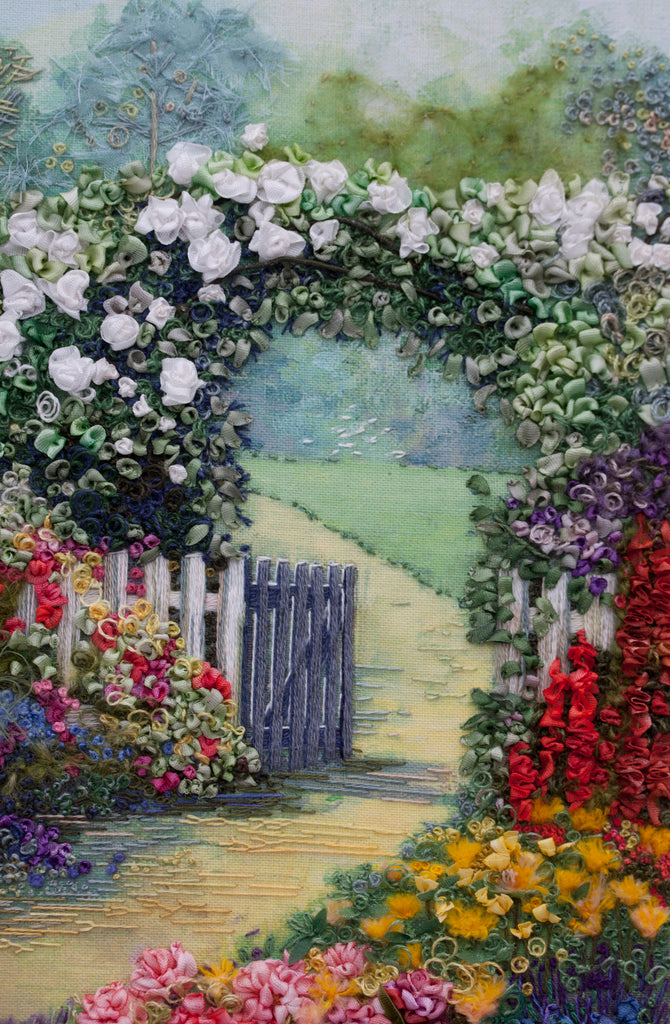
How To Make a Nature Scene of Embroidered Wildflowers . Hello, good morning from Kloof near Durban in KZN, where it’s much warmer and I am slowly defrosting. Cape Town has had a very cold winter! I thought you would like to learn how to make a country scene filled with wildflowers (we call them veld flowers). It’s a natural phenomenon here in the Cape that happens in...
A French knot rose is ideal for making small flowers and roses. . Use 2, 4 or 7mm silk ribbon or 6mm organza ribbon Wrap the ribbon once or twice around your needle as if you were making a French knot, but instead of inserting needle back into the fabric, gather the ribbon for 3 to 5 cm (I or 2 inches) as shown below… . ◕‿◕ See...
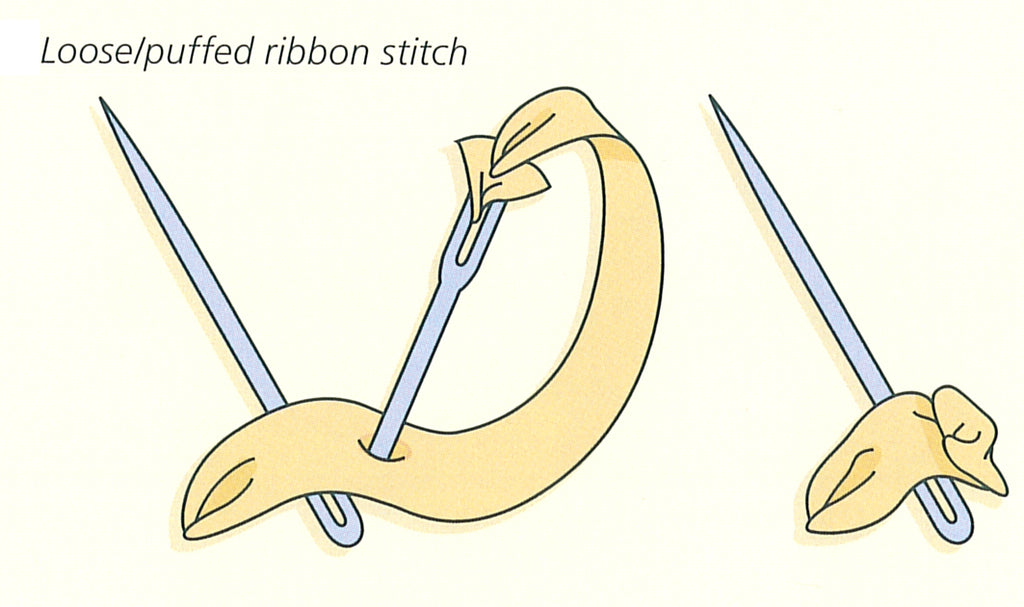
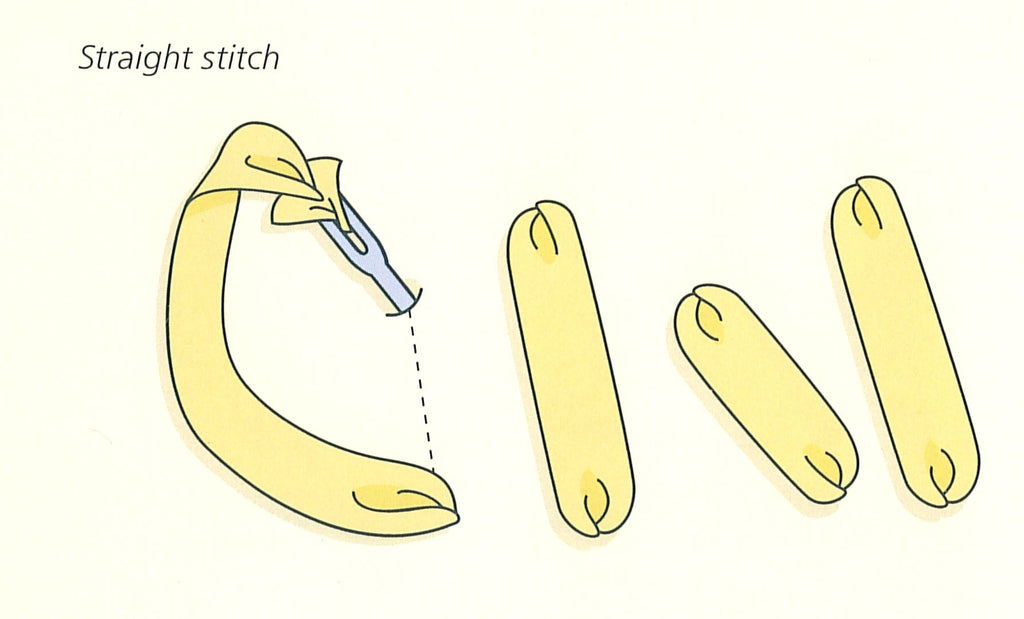
Straight stitches, worked with ribbon in different lengths, are ideal for making stems, blades of grass and thin, pointed leaves. Best worked with the fabric stretched in a hoop or frame. It is a good idea to work over a spare tapestry needle (or similar object) when you make the stitch. This way, the stitch is slightly raised up off the surface of the design. Remember to work with a...
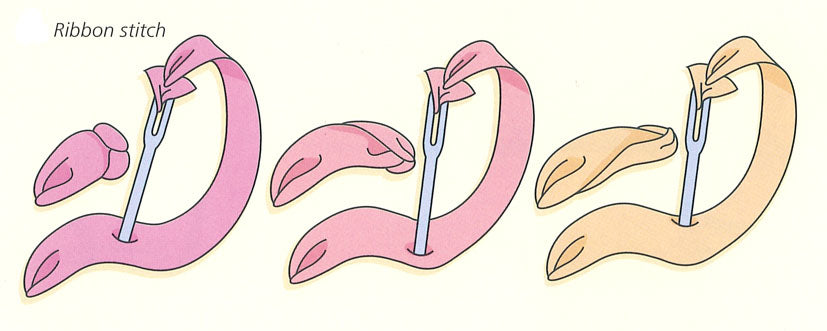
. To make the stitch, pierce the ribbon before taking the needle to the back. Hold the stitch with your finger as you pull the ribbon through your fabric and stop pulling as soon as the stitch curls up on the edge. If you pull the ribbon too far, it becomes a straight stitch. Don't worry, simply make another stitch on top - this adds texture to your...
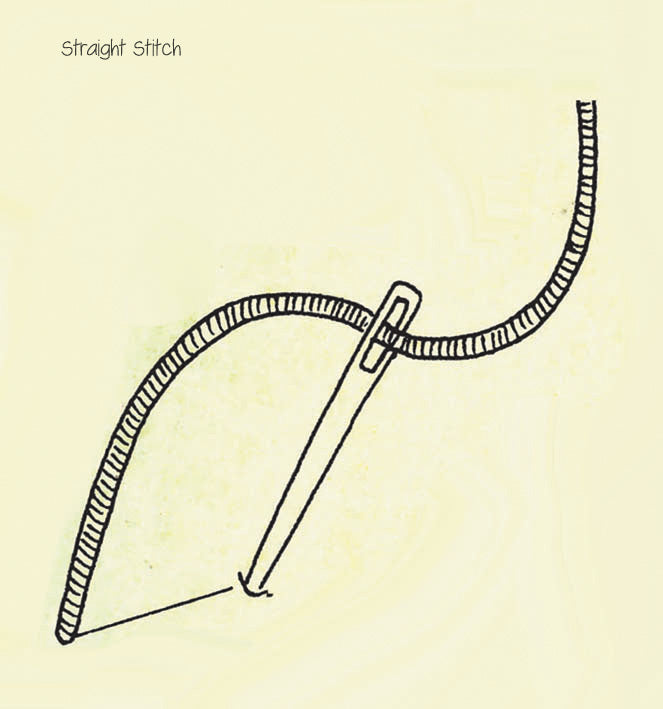
Straight or stab stitches, worked in different lengths, are ideal for making stems, blades of grass and thin, pointed leaves. The stitches should be neither too loose, nor too tight, and work with the fabric stretched in a hoop or frame. Stitches are made stab-stitch-style: take the needle and thread all the way to the back of your work before coming up to form the next stitch. Stitch diagram...
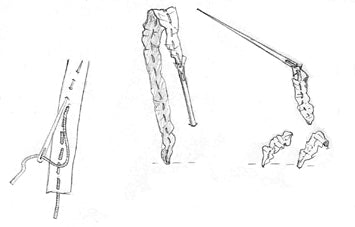
When working with two needles: always ensure that one of the needles (with thread or ribbon) lies on the top of your work whilst you stitch with the other. This way, the thread and ribbon won’t become tangled at the back of your work