Welcome to my Blog. This a place to share and learn all things embroidery. Here I post inspirational stories and free lessons in the form of tutorials and guides. I also share tips, tricks and teach stitches and techniques.
You will also find free patterns and designs for you to unlock your creativity. It is a great place for any creative looking to learn or find inspiration in this art form.
To stay in the loop with Dicraft you can subscribe to my newsletter and stay in touch on Instagram and Facebook.
Did You Know? Framing Tips • Choose regular or museum glass; non-reflective glass tends to obscure embroidered detail. • It is a good idea to sign and date your work before framing. Use a fine HB or 2B pencil then stitch over the lines discreetly with one strand of thread. Choose a dark to medium grey, charcoal or green thread and make tiny back or split stitches....
Hello from a sunny Cape Town - spring has finally arrived! Today I thought I'd show you how to make an embroidered hat and a basket like these in this design. It's quite a simple technique yet it has stunning results. This is from “The Bicycle” design where the hat and basket were made separately and then stitched on to the main design. Make the Hat...
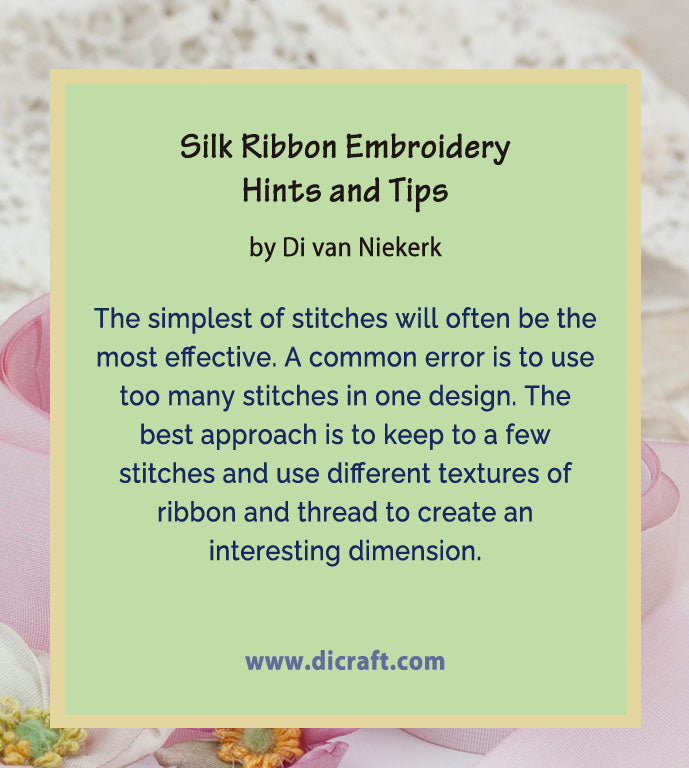
Did You Know? The simplest of stitches will often be the most effective. A common error is to use too many stitches in one design. The best approach is to keep to a few stitches and use different textures of ribbon and thread to create an interesting dimension. I would love to see what you are making, please email me your pictures! Until next time, have fun...
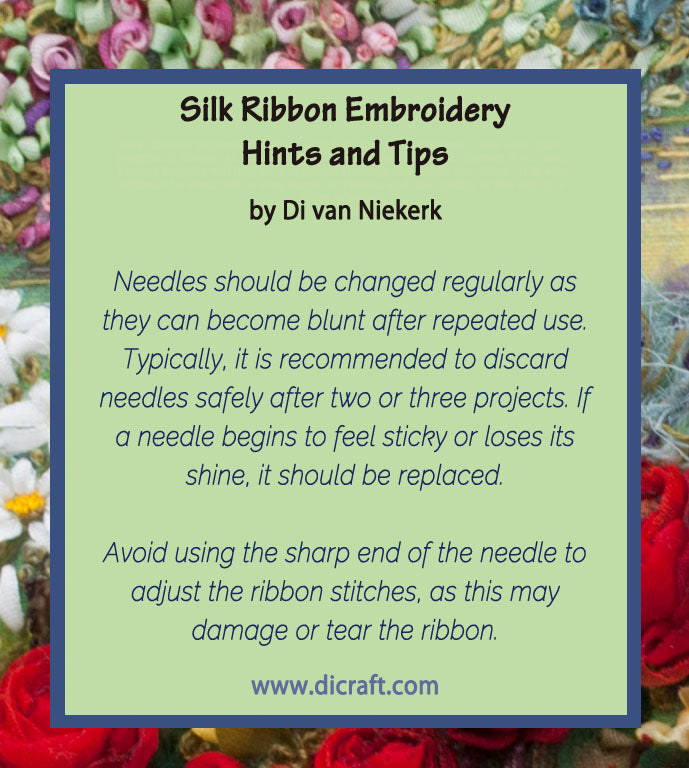
Did You Know? Needles should be changed regularly as they can become blunt after repeated use. Typically, it is recommended to discard needles safely after two or three projects. If a needle begins to feel sticky or loses its shine, it should be replaced. Avoid using the sharp end of the needle to adjust the ribbon stitches, as this may damage or tear the ribbon. I would...
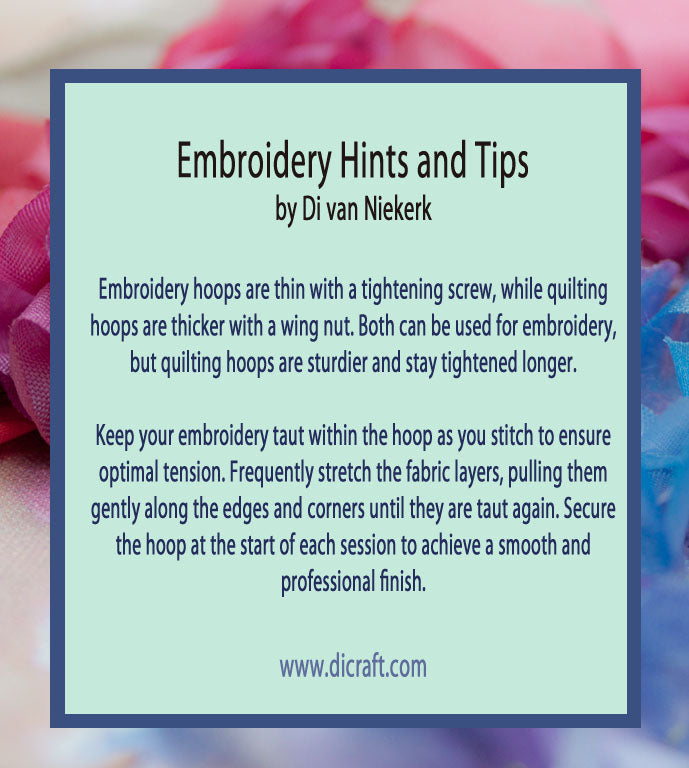
Did You Know? Embroidery hoops are thin with a tightening screw, while quilting hoops are thicker with a wing nut. Both can be used for embroidery, but quilting hoops are sturdier and stay tightened longer. Keep your embroidery taut within the hoop as you stitch to ensure optimal tension. Frequently stretch the fabric layers, pulling them gently along the edges and corners until they are taut again. Secure...
♥ George Eliot wrote: What do we live for if it is not to make life less difficult for each other? I thought you may like to make a monogram or two for Christmas gifts as it's not far away! Hopefully, one the A letter will match a friend or family member’s name.
I always work on an embroidery frame or hoop. Some embroiderers like to use small hoops but if you learn to stitch in a larger hoop, you can see the entire design whilst you stitch. This helps with choice of colour and texture — one needs to see the bigger picture when deciding on colour and texture, plus the larger hoop does not damage the stitches. . Hint About Stitches All...
Silk Ribbon Embroidery Hint 10 by Di van Niekerk From a series of handy hints and tips for silk ribbon embroidery to save and keep for your collection. You are most welcome to share with your students or friends. I will be adding a new card every week until the series is complete. This is Hint 10… . . . Stranded silk threads complement the silk ribbon beautifully. ...
Silk Ribbon Embroidery Hint 9 by Di van Niekerk From a series of handy hints and tips for silk ribbon embroidery to save and keep for your collection. You are most welcome to share with your students or friends. I will be adding a new card every week until the series is complete. This is Hint 9… . . Stranded cotton is the most used thread for creative...