An Inspirational Treat for Ribbon Embroidery Lovers
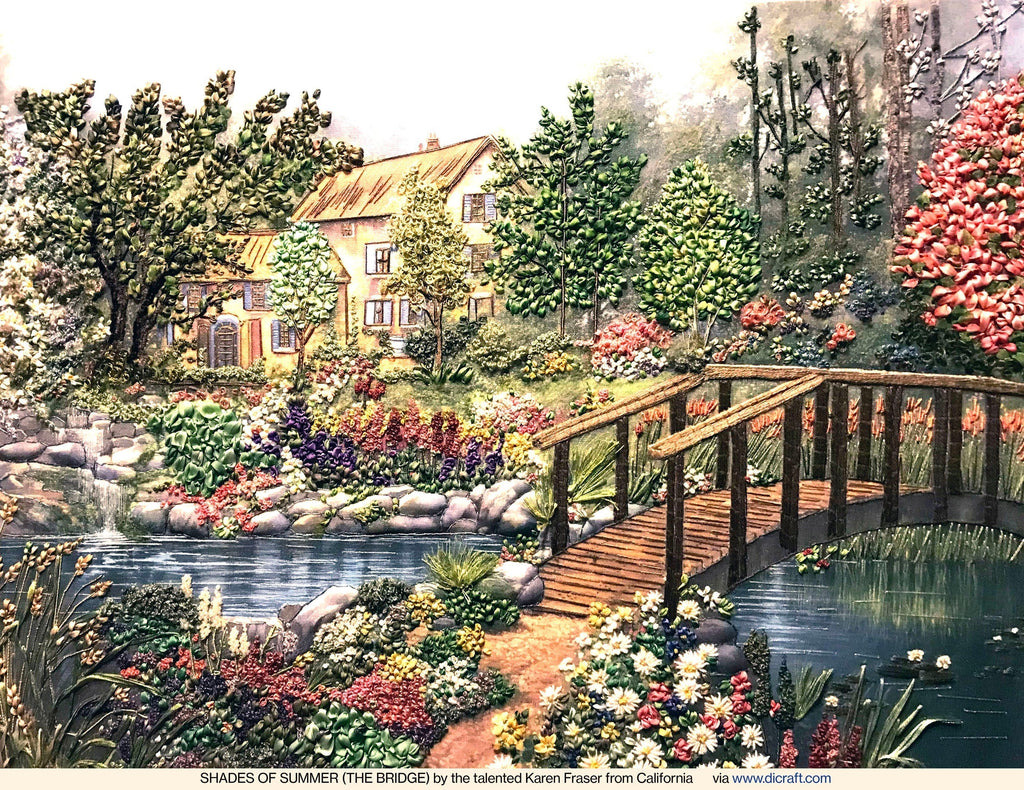
As we begin the New Year (and I wish a wonderful year ahead for everyone), I want to share something uplifting from one of the most gifted teachers I've met: Karen Fraser from California.
Welcome to my Blog. This a place to share and learn all things embroidery. Here I post inspirational stories and free lessons in the form of tutorials and guides. I also share tips, tricks and teach stitches and techniques.
You will also find free patterns and designs for you to unlock your creativity. It is a great place for any creative looking to learn or find inspiration in this art form.
To stay in the loop with Dicraft you can subscribe to my newsletter and stay in touch on Instagram and Facebook.
As we begin the New Year (and I wish a wonderful year ahead for everyone), I want to share something uplifting from one of the most gifted teachers I've met: Karen Fraser from California.
Did You Know? Framing Tips • Choose regular or museum glass; non-reflective glass tends to obscure embroidered detail. • It is a good idea to sign and date your work before framing. Use a fine HB or 2B pencil then stitch over the lines discreetly with one strand of thread. Choose a dark to medium grey, charcoal or green thread and make tiny back or split stitches....
Did You Know? The simplest of stitches will often be the most effective. A common error is to use too many stitches in one design. The best approach is to keep to a few stitches and use different textures of ribbon and thread to create an interesting dimension. I would love to see what you are making, please email me your pictures! Until next time, have fun...
Did You Know? Needles should be changed regularly as they can become blunt after repeated use. Typically, it is recommended to discard needles safely after two or three projects. If a needle begins to feel sticky or loses its shine, it should be replaced. Avoid using the sharp end of the needle to adjust the ribbon stitches, as this may damage or tear the ribbon. I would...
The 'Little Bird' needlebook is the third kit in this series and features an exquisite design of a charming little bird and vibrant butterflies amongst lush green leaves. Frilly pink petals of dainty little flowers, captured within an ornate frame of background stitches and glittering wings.
♡♡♡
You will learn a lot from this kit with detailed instructions and step-by-step photographs by Di van Niekerk. Be creative and grab the opportunity!
. . Hello Stitching Friend! I have some inspiring news regarding our best-selling needlebook series. Don't miss out on the chance to embark on a creative journey that's been carefully crafted with passion and inspiration. "A Magical Spring" is the second in our popular needlebook series. Along with all that you need, you will find detailed photos and instructions that I wrote step-by-step. These are for you to easily...
Did You Know? Embroidery hoops are thin with a tightening screw, while quilting hoops are thicker with a wing nut. Both can be used for embroidery, but quilting hoops are sturdier and stay tightened longer. Keep your embroidery taut within the hoop as you stitch to ensure optimal tension. Frequently stretch the fabric layers, pulling them gently along the edges and corners until they are taut again. Secure...
What's New? We have two new ribbon embroidery kits for you. Both designed to encourage creativity. Suitable for all levels, the step-by-step instructions and the colour pictures will show you how...
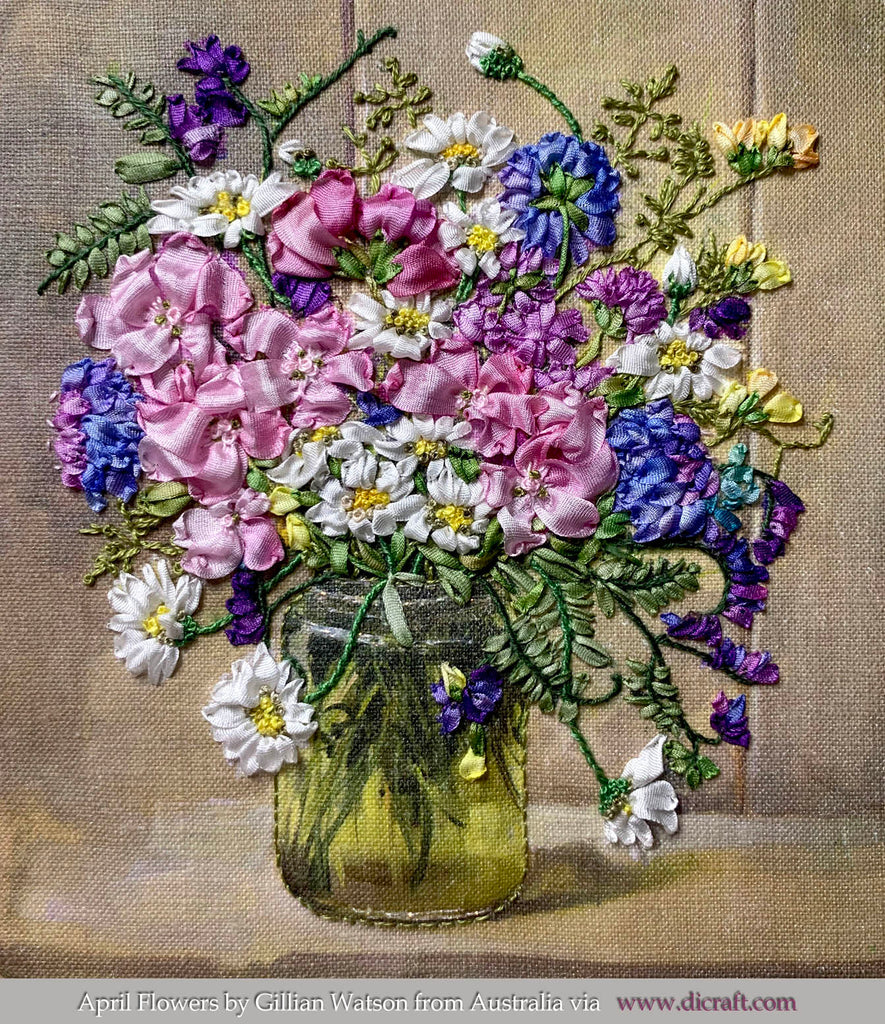
Question: Would you be interested in the kit for this beautiful piece that will include detailed, step-by-step instructions plus hints for silk ribbon embroidery? Let me know in the comments, thank you!
Don't you love this beautiful silk ribbon embroidery by Gillian Watson from Samford Village in Queensland, Australia? Gillian's work is just so gorgeous! She worked her masterpiece from one of our kits titled April Flowers. I asked Gillian to tell me more about her journey in embroidery and she replied:
Get regular newsletters packed with tips, specials and new products!
Copyright © DI VAN NIEKERK. ALL RIGHTS RESERVED.
Added to cart successfully!